
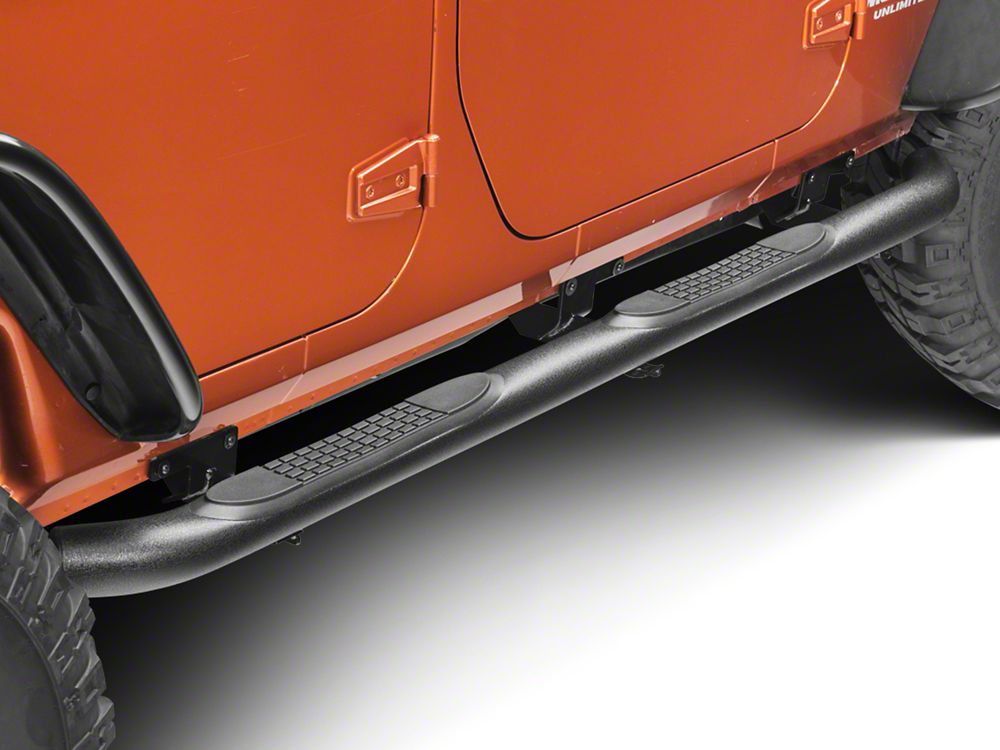


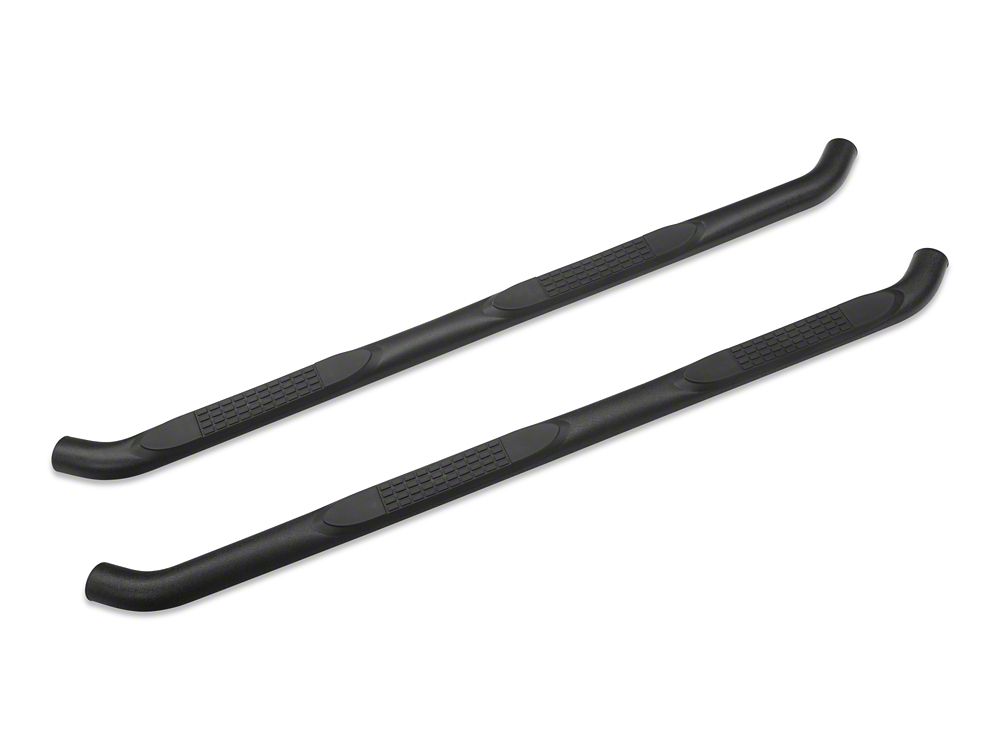
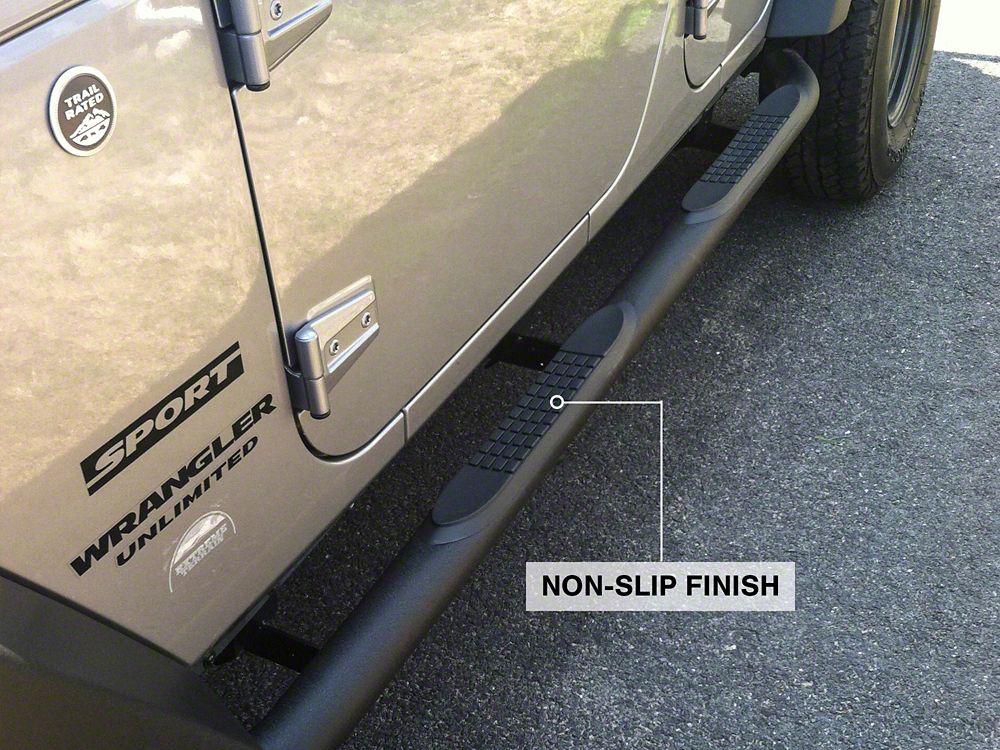
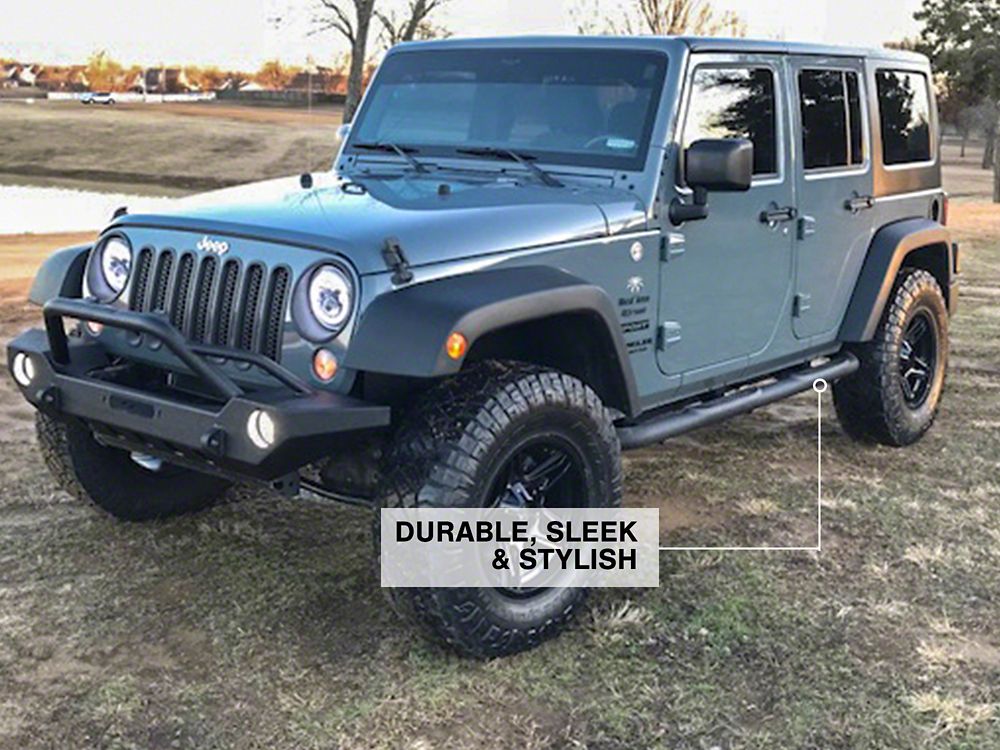
Specs and Steps. Climbing into and out of your JK Wrangler is a lot easier with RedRock 4×4’s burly, 3-Inch Curved Round Side Step Bars in textured black. The textured-black, powder coat gives you non-slip footing, even in slick conditions such as rain, and protects from rust, too. These bars give your Jeep a no-nonsense appearance.
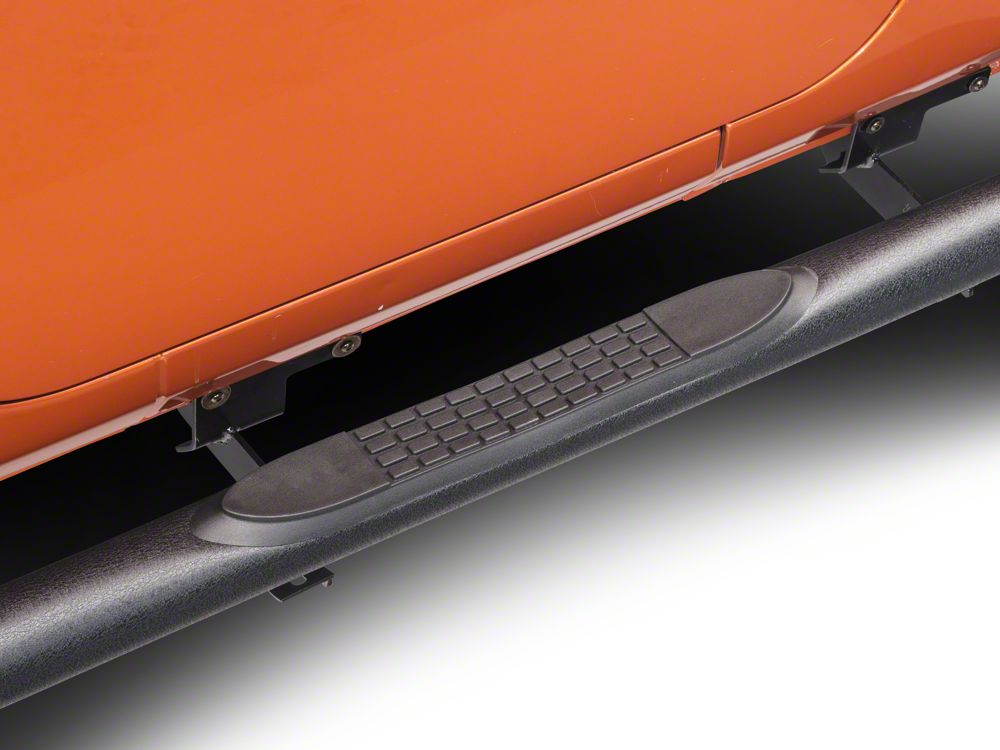
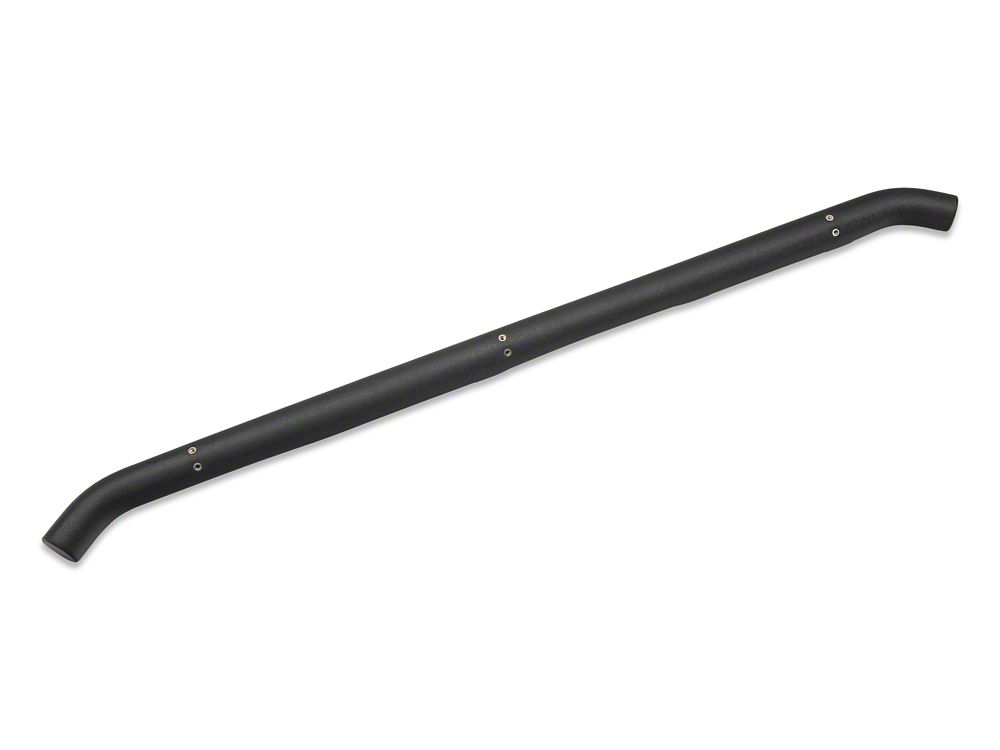
Construction. Redrock’s Curved Round Side Step – Textured Black is made from 3-inch tubular steel with mandrel bent curves and 0.07 inch side walls. These hefty tubes feature a textured, non-slip black powder-coated finish, which is excellent both for corrosion prevention and for traction.
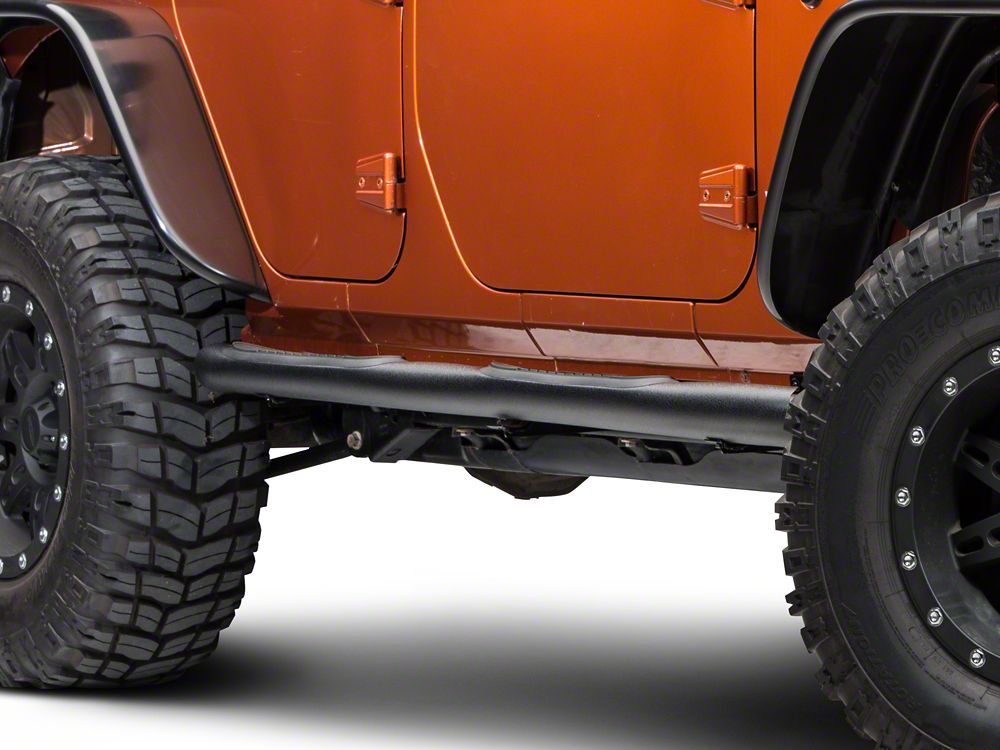
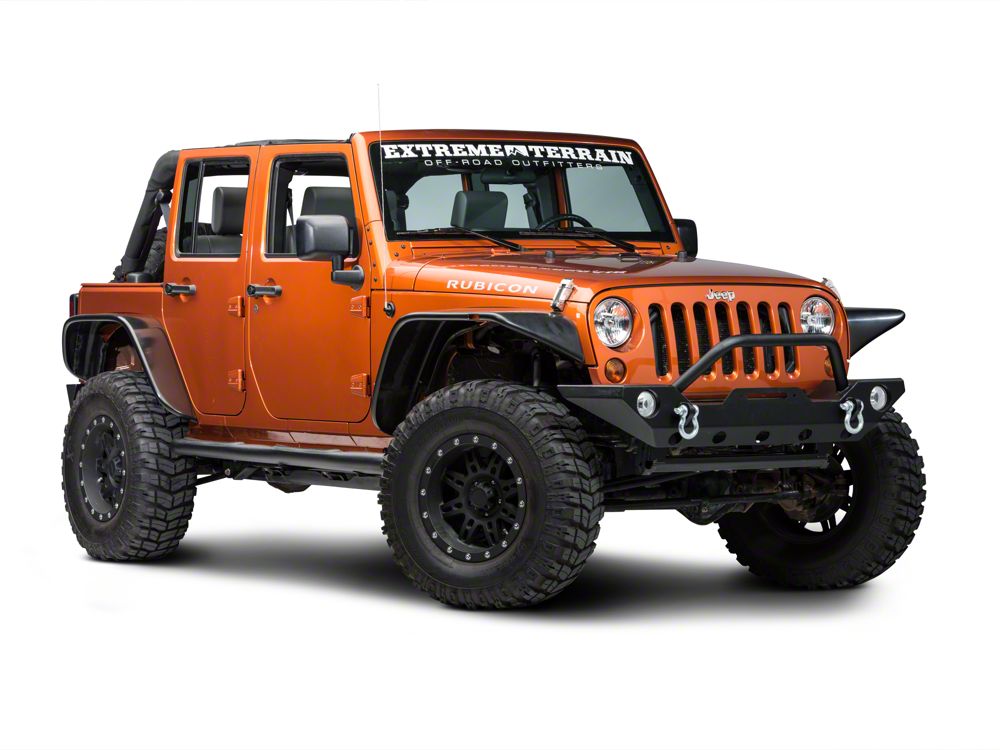
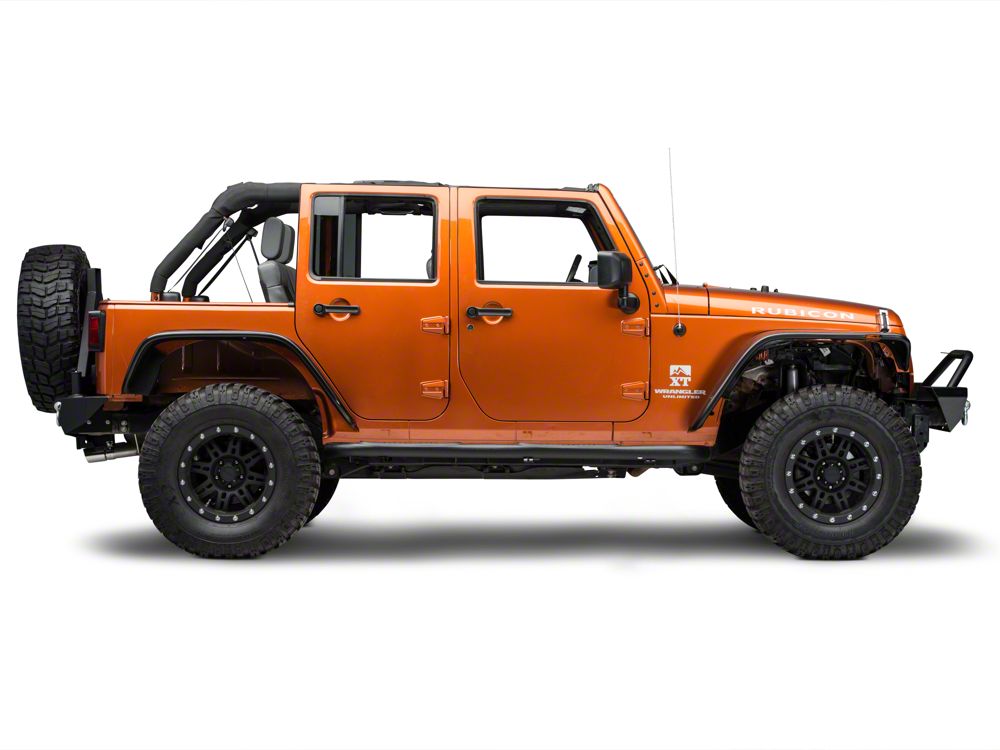
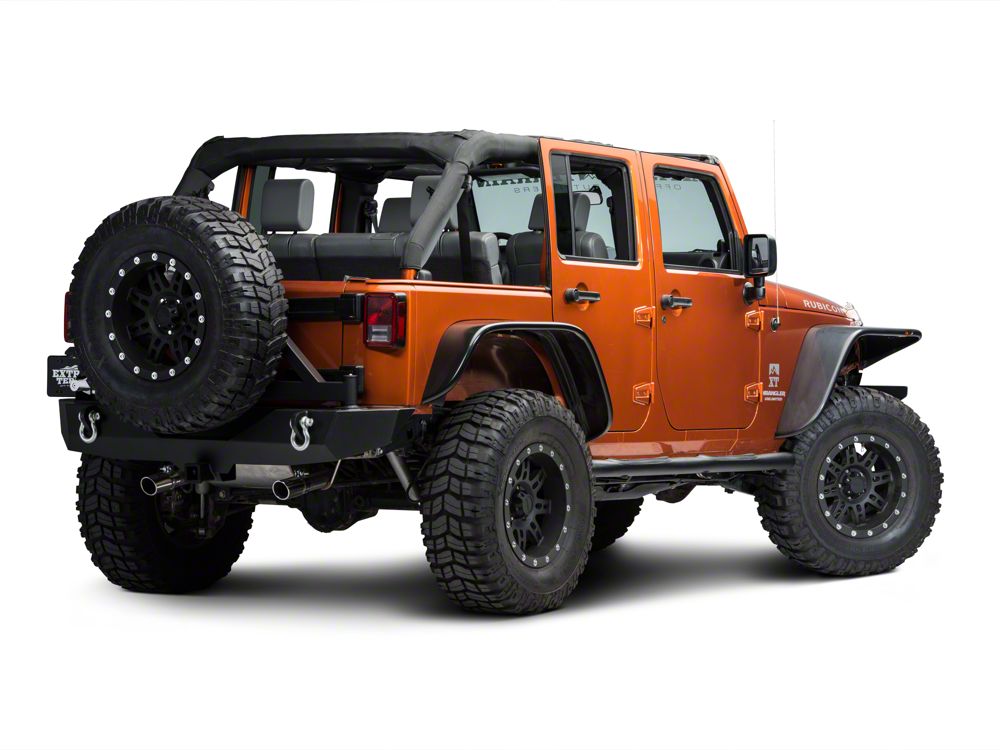
Application.The RedRock 3-Inch Curved Round Side Step Bars in textured black fits 4-door models of 2007-2018 JK Wranglers. It DOES NOT FIT JL models due to mounting location differences.
Only had these on my Jeep a few days, but so far I love them. I had stock Jeep chrome running boards prior to this install. Basically the same type running boards, just in black. I have been slowly switching the factory delivered chrome package (tail light guards, gas cover, running boards) over to black. This install took between 1 and a half to 2 hours (it should be noted, I took my time and a couple of breaks, so the), from taking the old running boards off, to installing the new. Very straightforward install and can be done by one person without any trouble. I really like these running boards, but again, I have only had them on the Jeep for a few days, but I don’t think there will be any issues with them.
Overall the installation was easy and the product looks good
These step bars make it so much easier to get into my Jeep. They look so good on it. Installation was a breeze. It took about 2 hours.
These steps were exactly what I was looking for…clean but tough look, without a huge drop so I’d still have clearance and the texture matches the look of my stock fenders perfectly.
The video instructions were just fine… I highly recommend watching that prior to install.
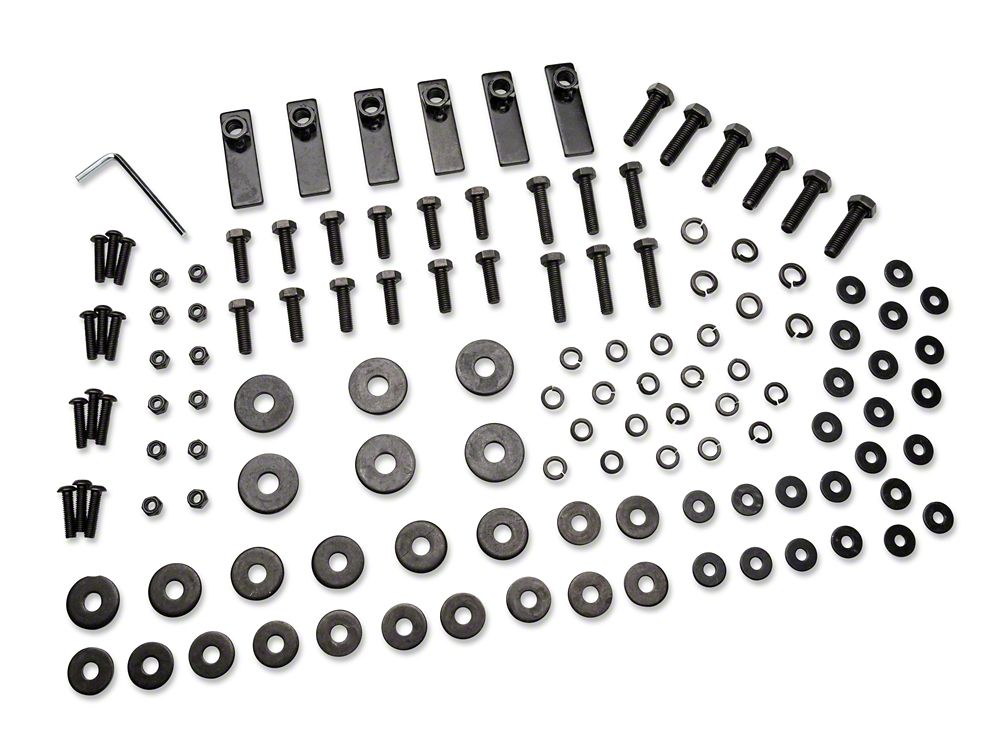
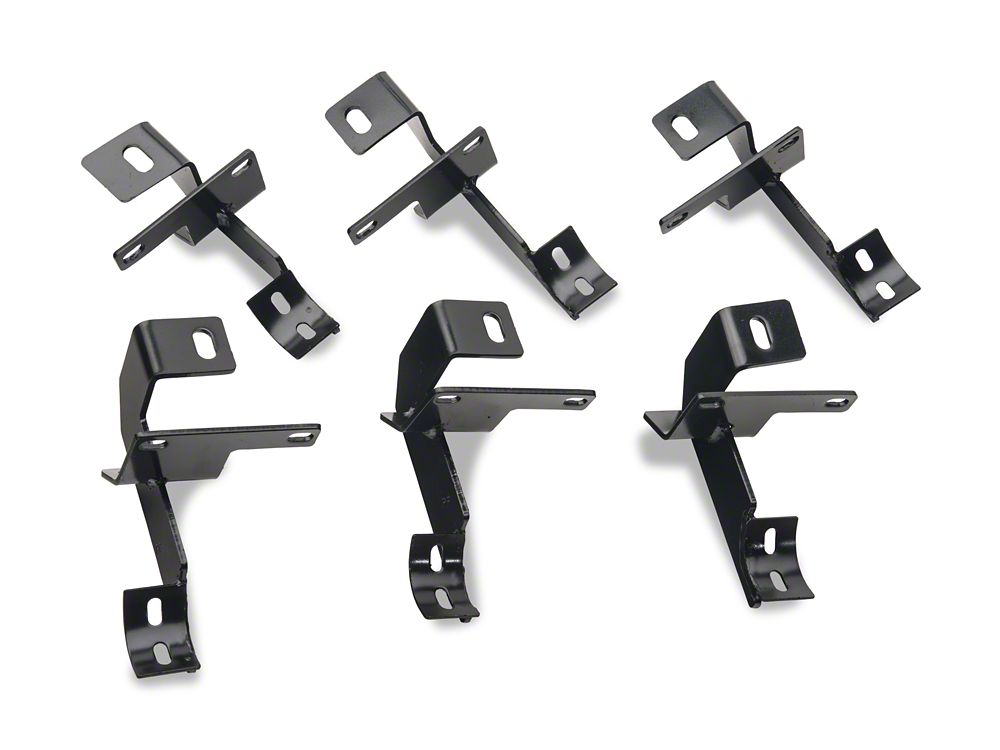
But the written instructions were awful…and if you don’t have the threaded openings on your frame already, let me tell you that these are a pain in the rear to install as neither the written or video instructions cover how to use the long, flat threaded pieces that you have to use instead.
The holes in the frame are small and hard to get fingers into…and I have very small fingers. The front section had three openings…the first one was where the threaded end would sit, the second was covered by the length of the threaded piece and the third was where I was able to jam my finger in to grab onto the piece and try to hold it still while threading the bolt into it. So that was difficult but doable.
But where the center bolt piece had to go there were only two openings on the frame…so there was no opening big enough for my finger to fit into to hold the threaded piece down while screwing in the bolt. After much frustration of trying to get the bolt started while the piece moved all over the place I finally settled on using the included allen wrench to hold that piece still long enough to get the threads to start. It was small enough to fit in the second opening and since it had a ninety degree bend I was able to use it to put enough pressure on that flat piece to get it to hold still (after multiple frustrating attempts) long enough to get the bolt started. I had to take a break after the first two bolts to bring my frustration level down.
But hallelujah! The rear opening on my frame was a threaded opening and what a night and day difference that made…you just screw it in like in the video…I was dearly wishing that all three of my bolt setups were this easy. Luckily, I’m a fairly handy person and was able to figure out the issues with the first two screws, so the second side went faster, but it was still a hassle.
One of the reviewers mentioned installing the step prior to bolting everything on to the frame and I could see where that would be more efficient if all the frame openings were threaded….but it would have been a much more difficult install if using the flat threaded pieces instead.
Definitely leave all the bolts on the looser side before installing the steps as those didn’t line up well. I had tightened up the frame pieces too much on my first side to get the step to line up so I had to undo those a bit to get everything in the right place. Once I got the bolts to the step pieces to line up I tightened those first and then I tightened the bolts on the frame.
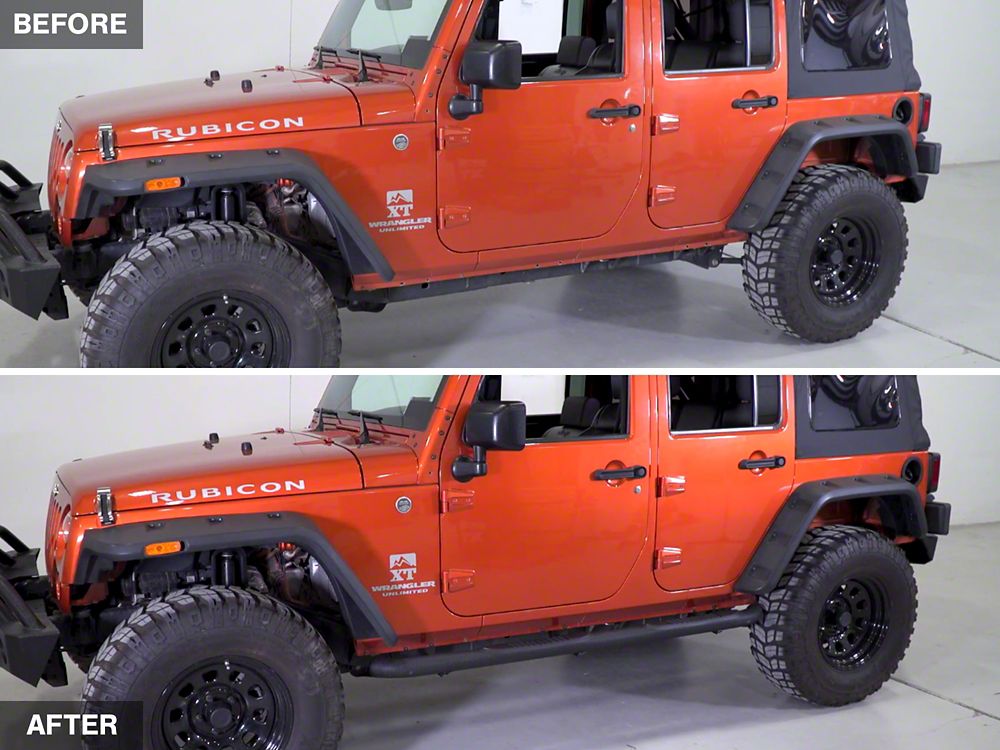
Other than the install taking much, much longer than I was expecting I’m really happy with the look of these and it’s been helpful to me (and my eighty year old Mom who’s been visiting) getting in and out as I have a little bit of a lift and larger tires on my rig. I also think it’s a more finished look than I had before so I’m very pleased with my purchase.
Good product overall, the instructions were terrible though. I had to find a video on Youtube.